The following guide shows in detail what to change on an LX Auto Heater if you don't require the pressure switch cable. And how to bring the pressure switch inline with the main power line, which means the unit will only get power when circulation pump kicks in.
A little overview of the LX thermostatically controlled heaters.
The heater is one of the most useful parts sold for hot tubs and spas, it can be used for so many things from new build hot tubs, upgrading a wooden hot tub that only has a wood burner or even repairing an old hot tub that has a faulty heater. It fits 1.5" (ID) plumbing and runs at 10amps which means you can run it from a 13 amp plug. it has a dial on the side to adjust the temperature and contains a 2 or 3kw element and pressure switch.
Please note their is a arrow on the side of the unit that points in the direction that the water needs to go in.
Rewiring to remove the pressure switch cable.
The pressure switch cable has been added to heaters by the manufacturer to make it more versatile but we can not see what it is useful for, and therefore would suggest if it is not being used to rewire the unit to enable the pressure switch that is built in.
Currently the pressure switch is a separate circuit inside the unit and will need to be brought into the power line to make it active and useful as a safety device that switches the power of to the unit if their is not enough flow (water pressure). the switch on the pressure switch is 15 amps and designed to be run on a 240v circuit.
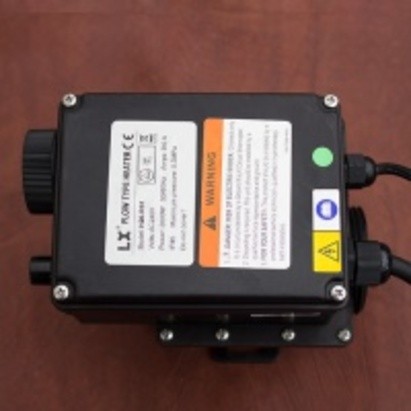
This is the top view of the LX auto heater before any adjustments, note the 2 cables coming out the right hand side. Lower cable is the power cable and the upper cable is the pressure switch cable that needs removing.
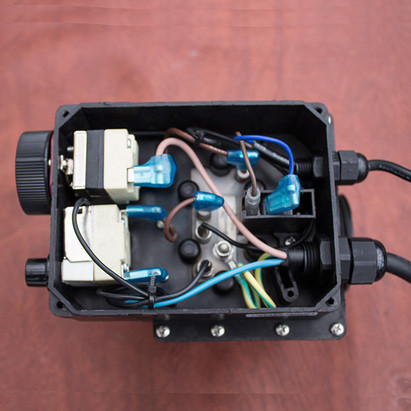
Remove the 4 screws that hold the top on and this is what you will see, again note the upper cable and what it is wired to.
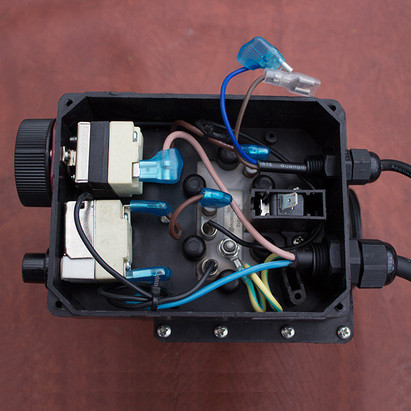
Remove the spade connections carefully trying not to disturb the switch from its location, if you do just put it back where it situated.
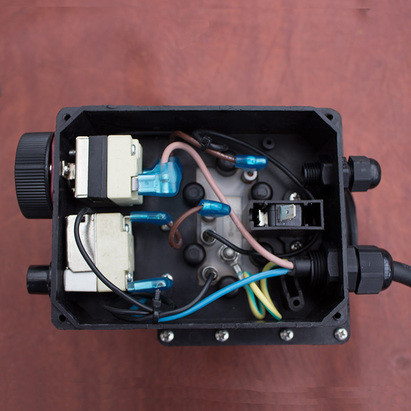
Cut the ends of the spade connections of the thinner cable and remove the cable so it looks like this.
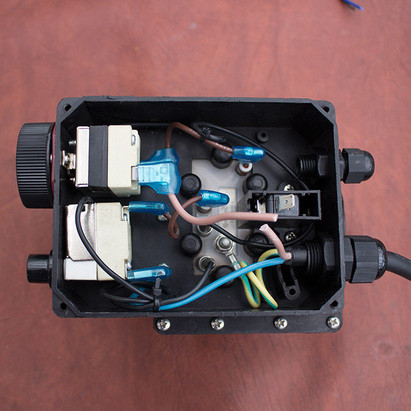
Now snip the main live in a similar location to this so they will easily connect onto the spade connections on that you have just freed up.
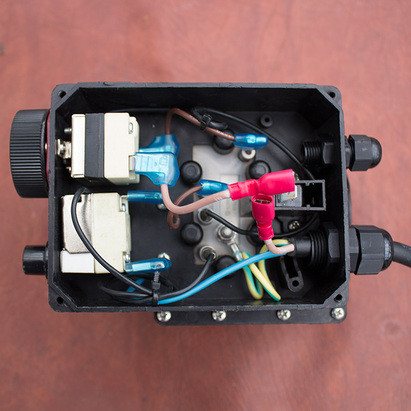
Here is the LX Heater with the spade connections added and ready to go on.
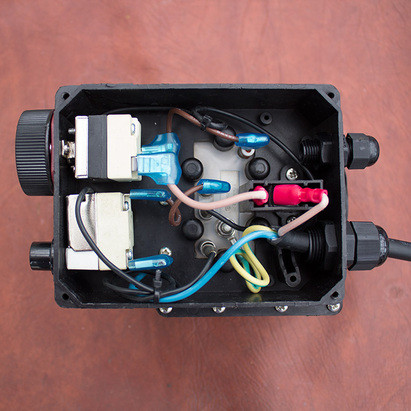
The spades can be added either way around.
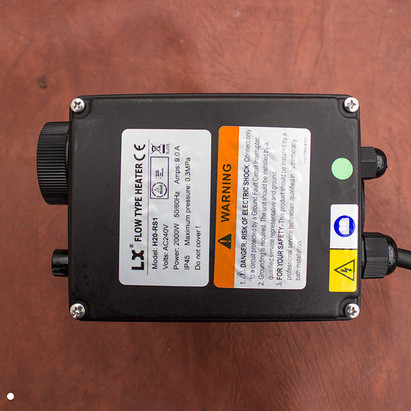
Then all that is left is to replace the lid and put the heater into the plumbing and connect the power. The element inside the unit will now on switch on if water is passing the switch with enough pressure to push the switch.
